How to Effectively Troubleshoot Your AC System
Experiencing issues with your air conditioning (AC) system can be frustrating, especially during hot weather. Understanding how to troubleshoot common problems can save you time and discomfort. Regular maintenance and a few simple checks can often resolve minor issues before they become significant problems.
AC troubleshooting begins with understanding the key components of your system and how they work together. Taking these steps will help ensure your AC system continues to run smoothly, keeping your home comfortable.
Checking Thermostat Settings
One of the first steps in AC troubleshooting is checking the thermostat settings. Thermostat issues are common and can often be resolved quickly. First, ensure that the thermostat is set to the desired temperature and is in cooling mode. Sometimes, it may be switched off or set to heating mode by mistake.
Next, check the battery if your thermostat is battery-operated. Weak or dead batteries can cause the thermostat to malfunction. Replace the batteries and see if this resolves the issue. If your thermostat is hardwired, make sure it’s receiving power. Sometimes, a tripped circuit breaker can cut power to the thermostat, affecting its functioning.
It’s also essential to verify the programmable settings if you have a programmable thermostat. Make sure the schedule aligns with your cooling needs. Incorrect scheduling can lead to inconsistent cooling. If the thermostat screen is blank or unresponsive, you might need to reset it. Refer to the manufacturer’s instructions for the correct reset procedure.
Lastly, consider the placement of the thermostat. If it’s located near heat sources like lamps or direct sunlight, it may not accurately measure the room temperature. This can cause the AC system to run unnecessarily or fail to turn on when needed. Ensuring the thermostat is correctly positioned can improve its performance and resolve many common issues.
Inspecting Air Filters
Another critical aspect of AC troubleshooting is inspecting the air filters. Dirty or clogged filters can hinder airflow, making your system work harder to cool your home. This can lead to decreased efficiency and increased wear and tear on the equipment. Regularly inspecting and replacing air filters is essential for maintaining an efficient AC system.
Start by locating the air filter, which is typically found in the return air duct or near the blower compartment. Carefully remove the filter and hold it up to light. If you can’t see through it or notice a buildup of dirt and debris, it’s time to clean or replace it. Depending on the type of filter you have, it may be reusable and require cleaning, or it may need to be replaced altogether.
Using the right filter for your system is also important. Check the manufacturer’s recommendations for the appropriate size and type for your AC unit. Installing the wrong filter can cause improper air filtration and potentially damage your system. Our professionals recommend replacing or cleaning filters every one to three months, depending on usage and environmental factors.
By regularly inspecting and maintaining your air filters, you can ensure optimal airflow and improve the efficiency of your AC system. Clean filters not only enhance performance but also contribute to better indoor air quality, creating a healthier living environment.
Examining Electrical Connections
Examining electrical connections is a crucial part of AC troubleshooting. Faulty or loose connections can cause a range of problems, from intermittent operation to complete system failure. Start by turning off the power to your AC unit at the circuit breaker to ensure safety.
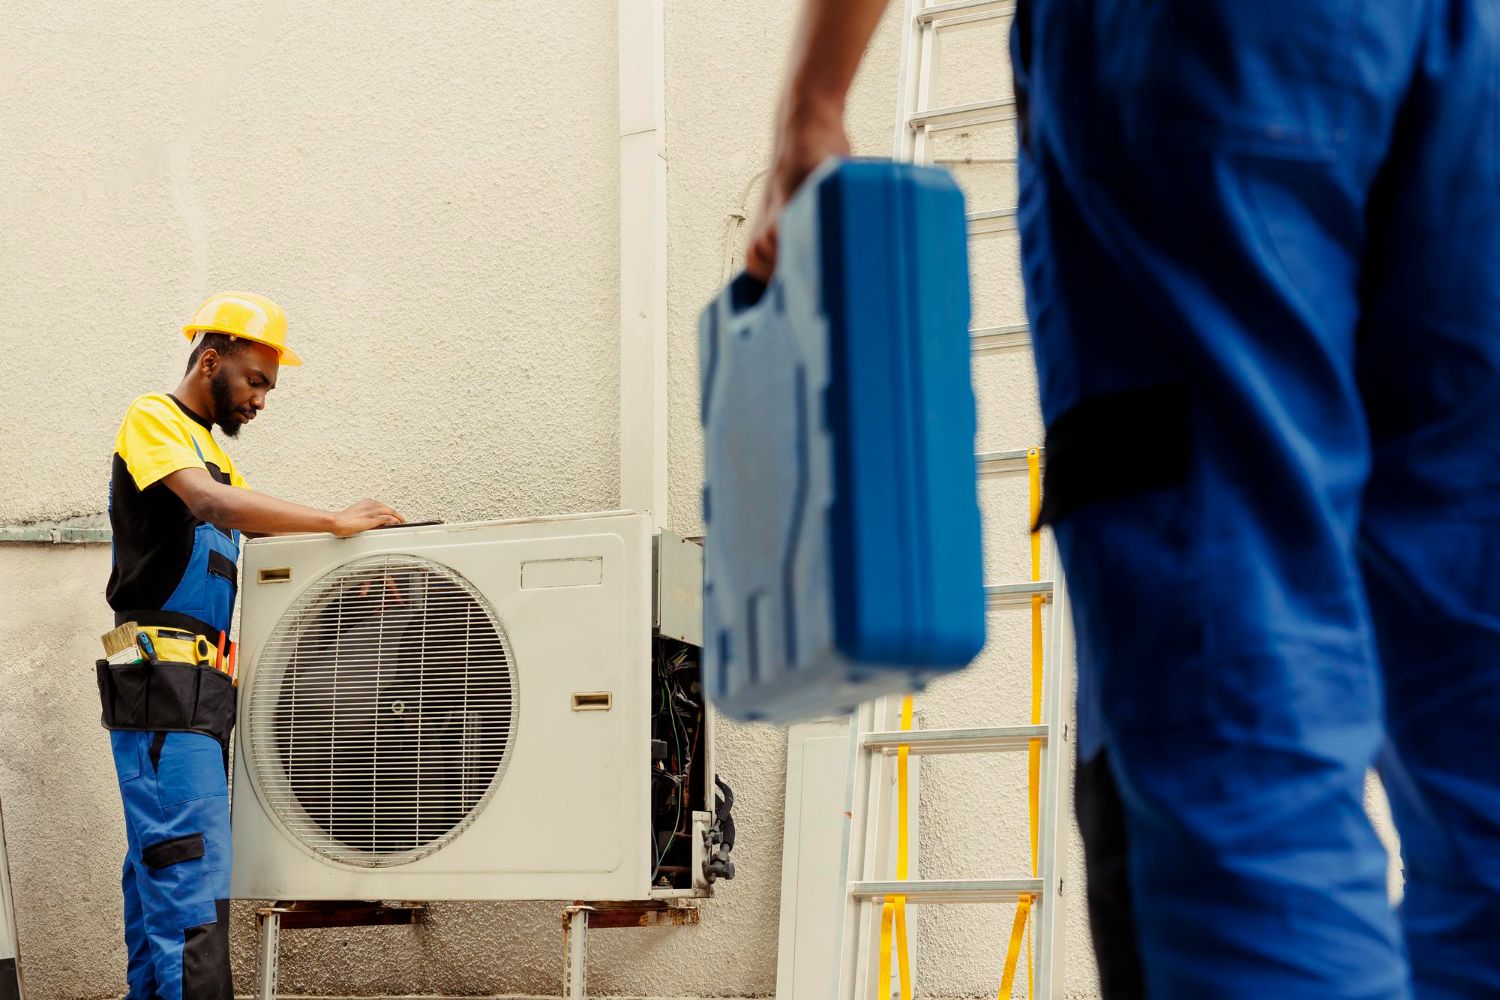
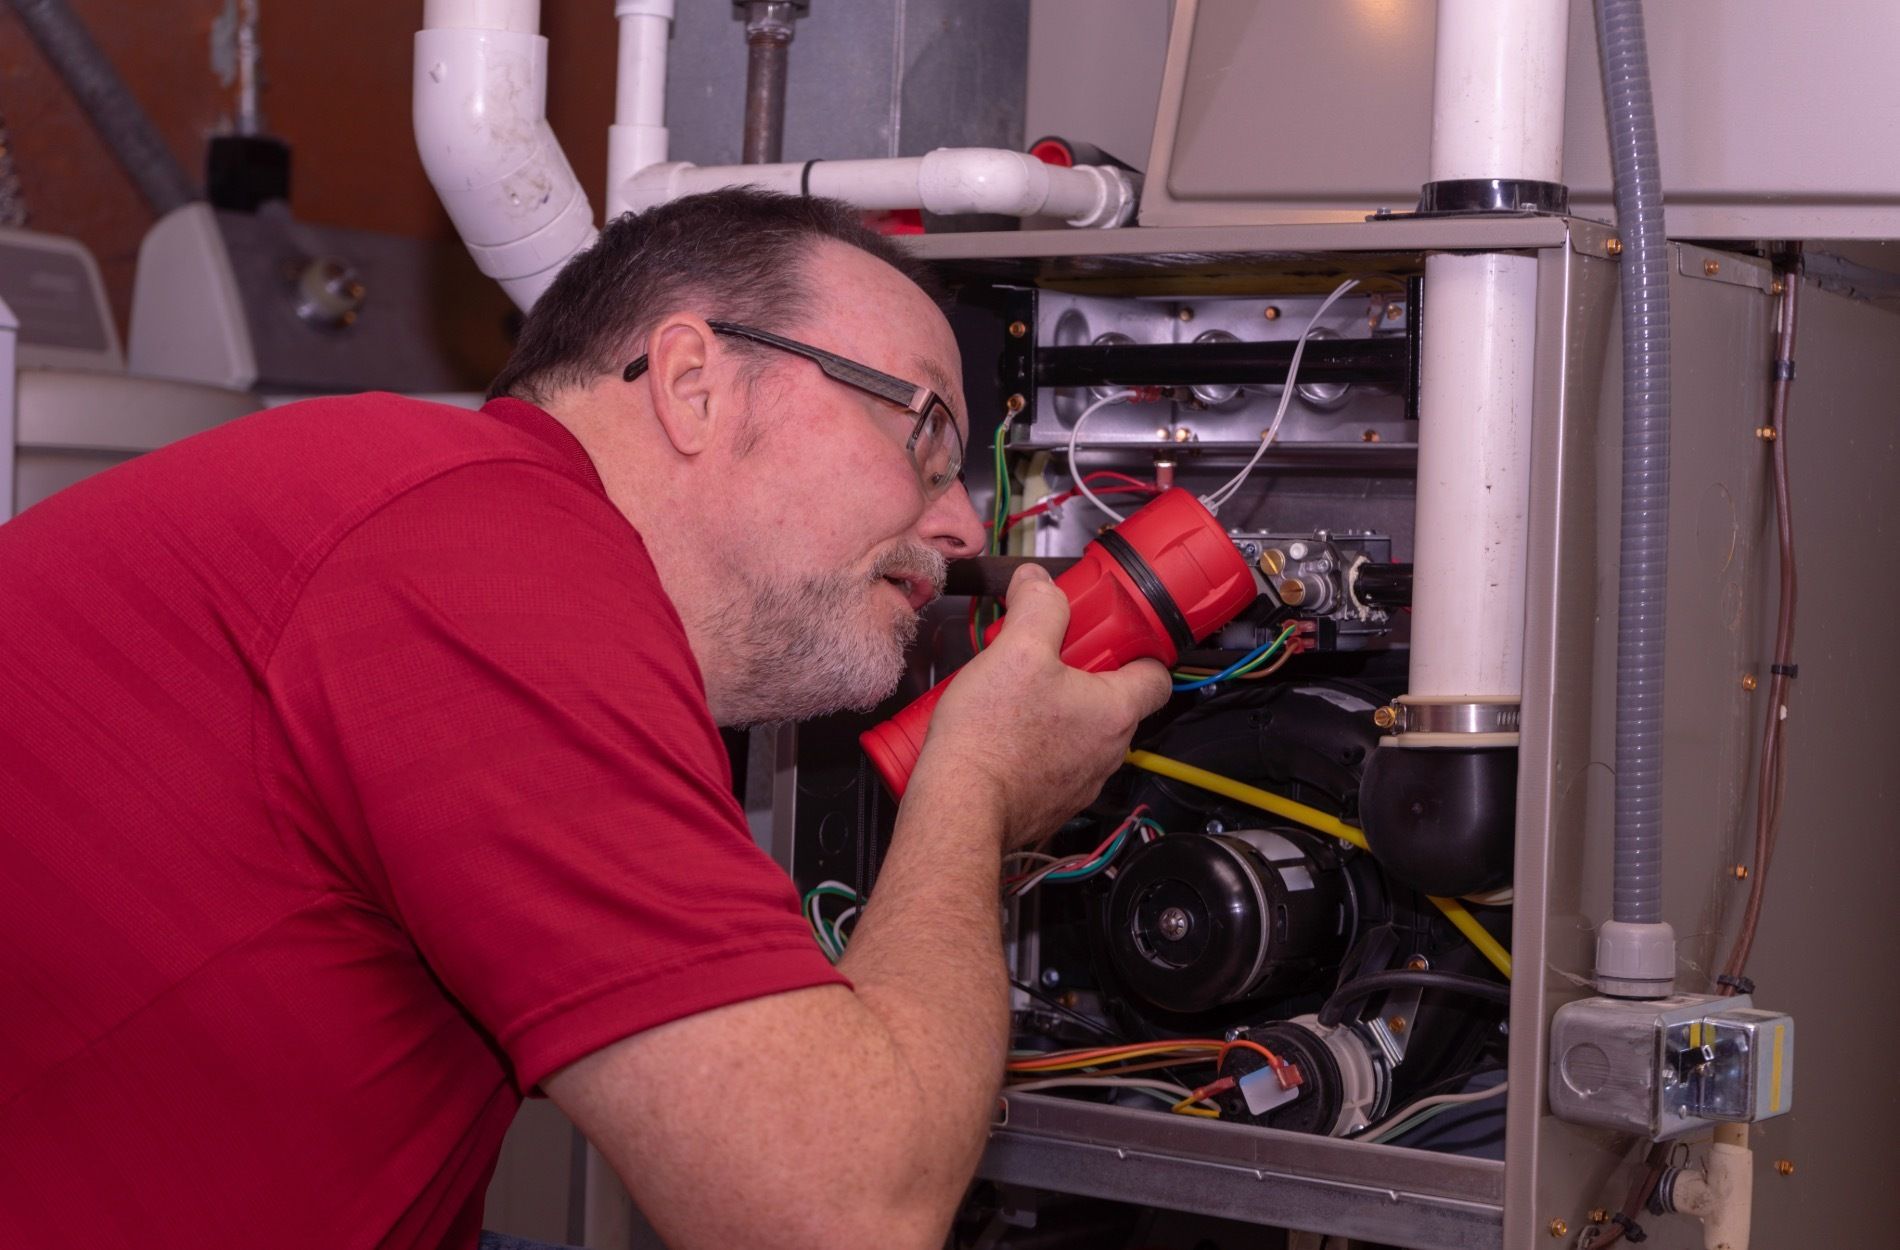
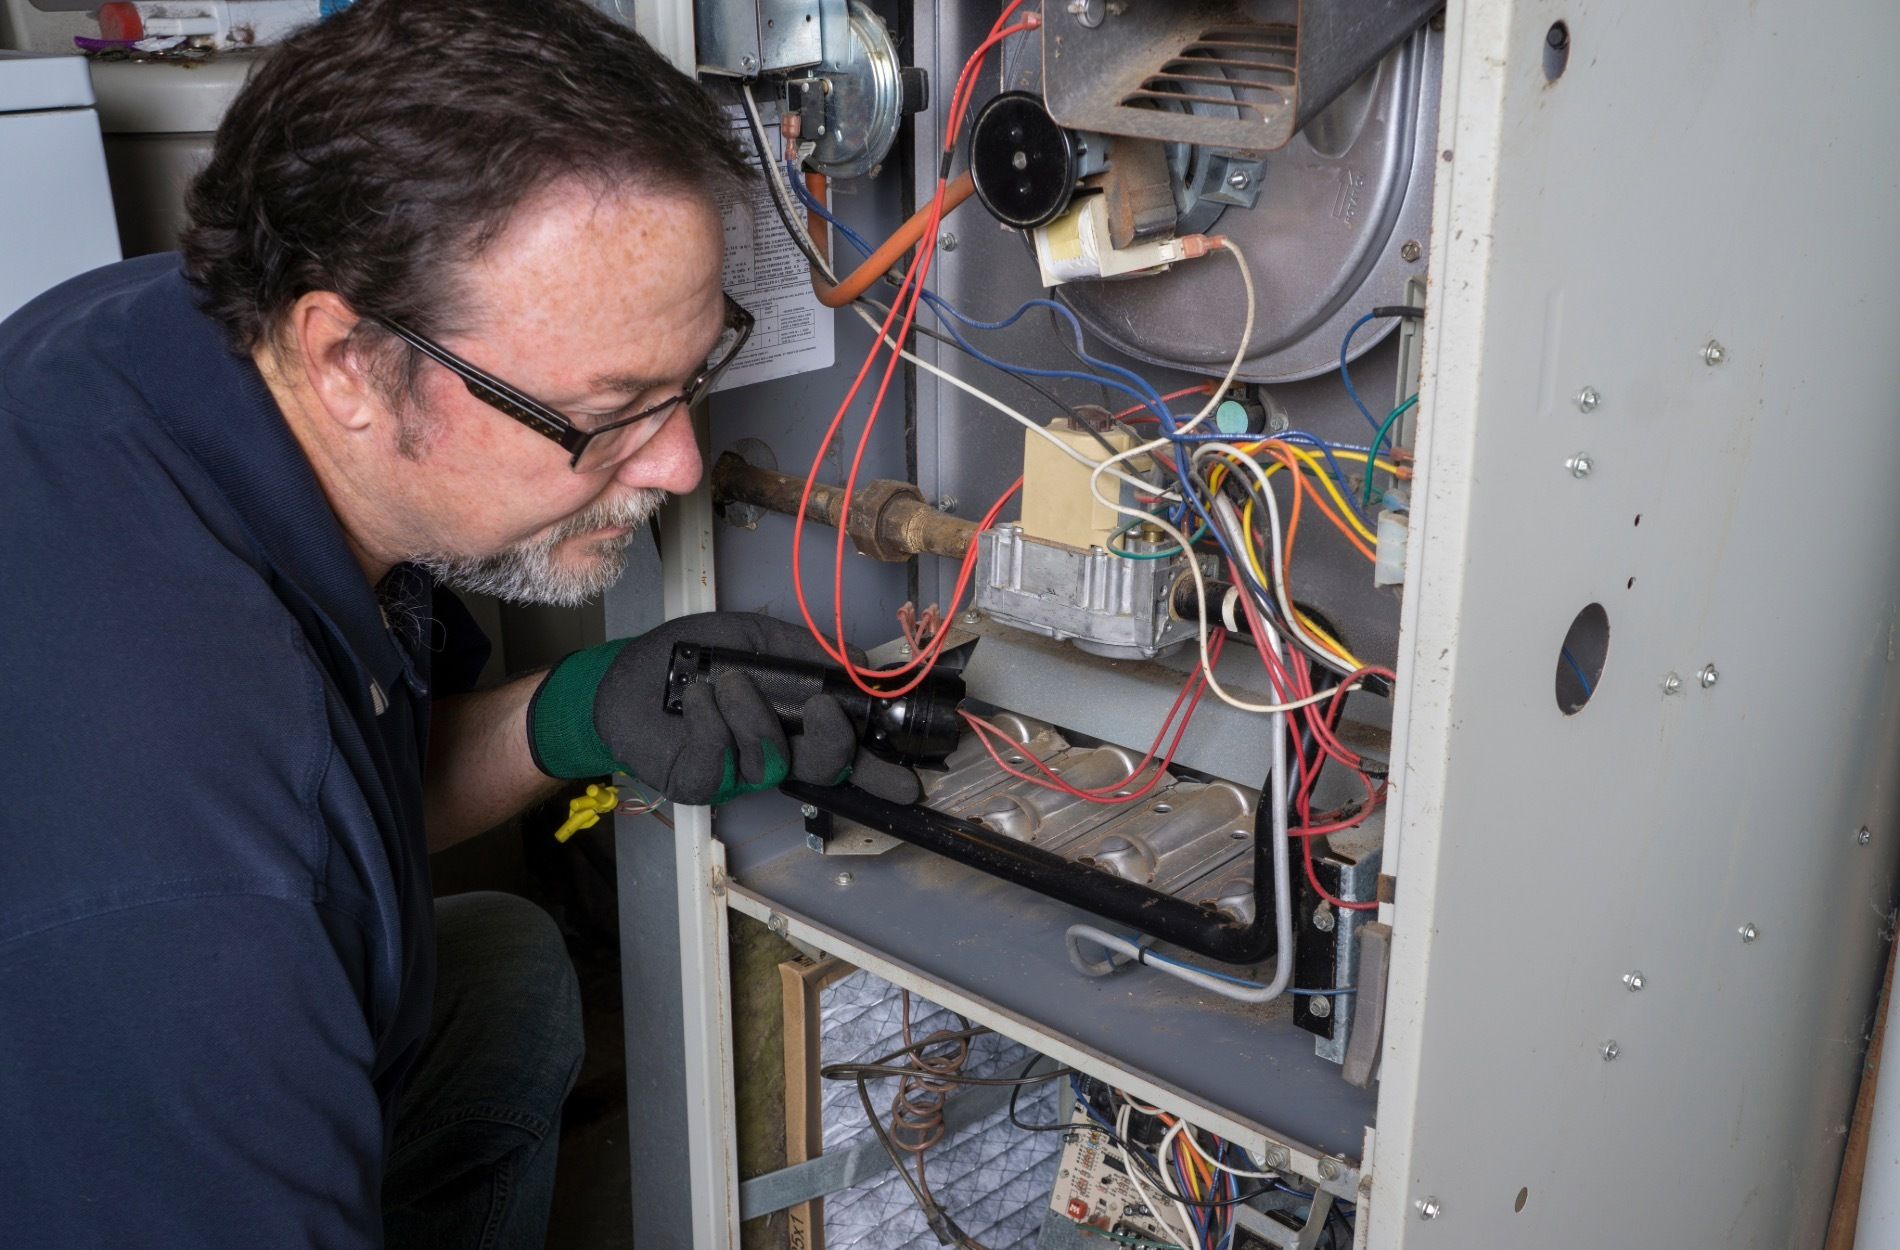
Once the unit is powered off, remove the access panel to inspect the electrical components. Look for any signs of wear, such as burnt or frayed wires. Loose connections can often be tightened with a screwdriver, but if you are unsure about handling electrical components, it’s best to consult our professionals.
Check the capacitor, which is a small, cylindrical component typically found near the fan motor. Capacitors can go bad over time and may need replacing. Signs of a faulty capacitor include bulging or leaking. Also, inspect the contactor, a switch that controls the flow of electricity to the unit, for any signs of wear or pitting.
It’s essential to test the voltage of the electrical components to ensure they are receiving the correct amount of power. Use a multimeter for this purpose. If any component is not receiving power or is malfunctioning, it might need replacement. Regularly checking and maintaining the electrical connections can prevent many common AC issues, ensuring your system runs safely and efficiently.
Assessing Refrigerant Levels
Assessing refrigerant levels is another vital step in AC troubleshooting. Low refrigerant levels can lead to poor cooling performance and increased energy consumption. Our professionals recommend checking the refrigerant levels to ensure your system operates efficiently.
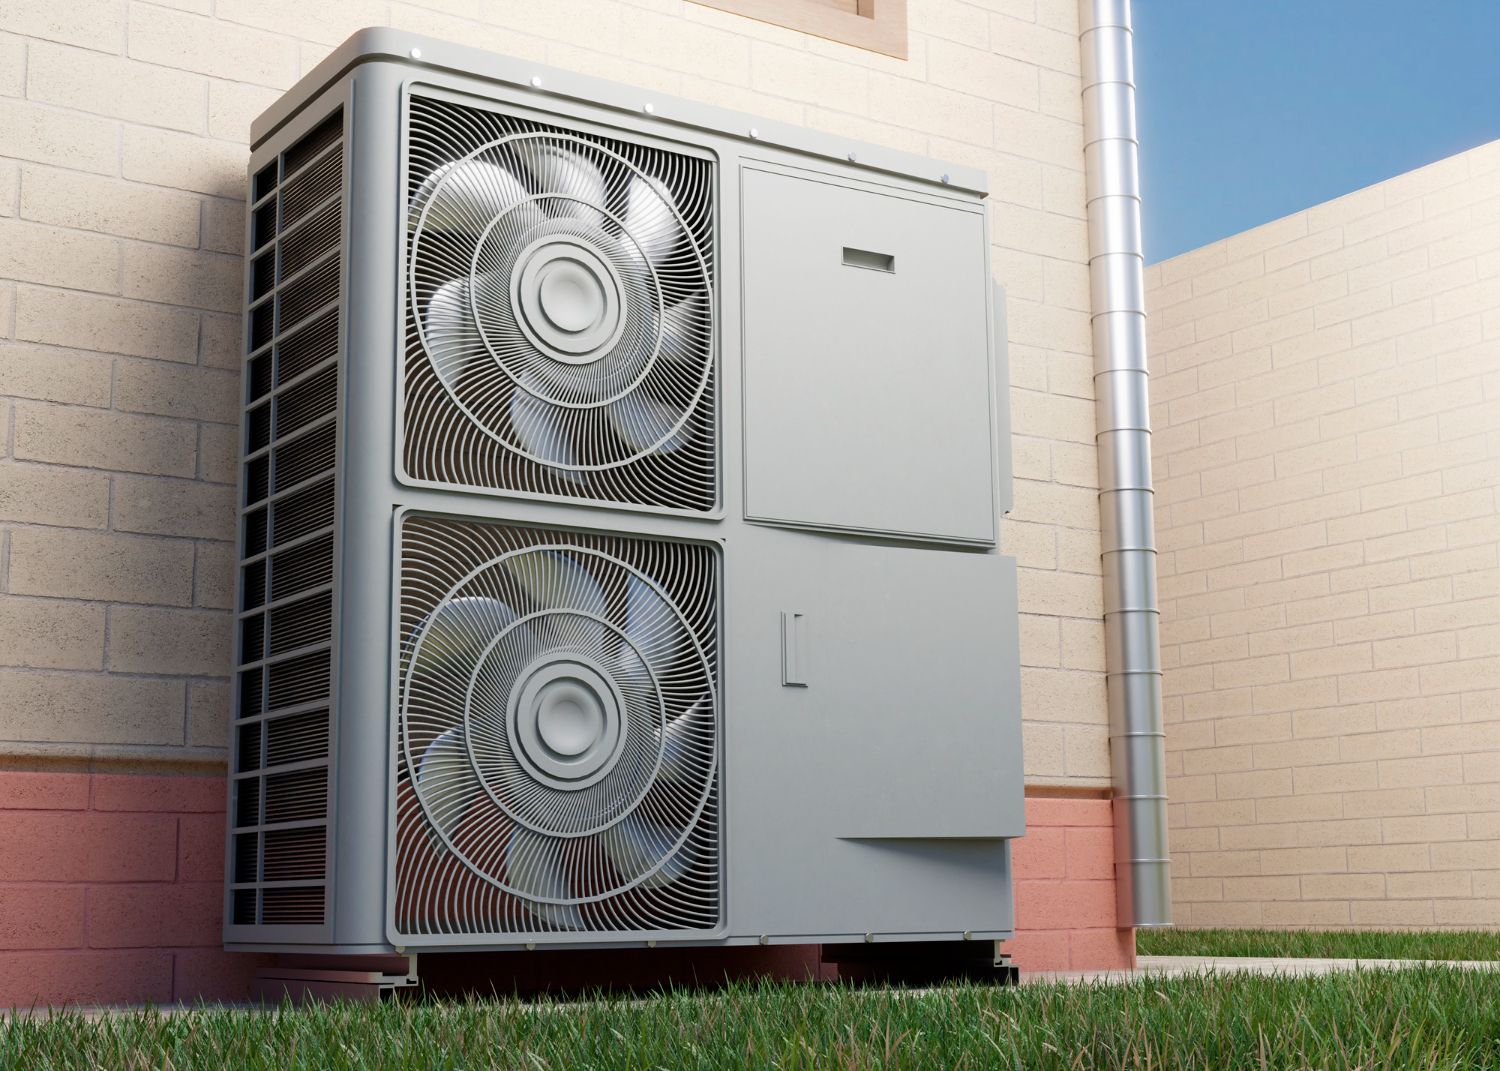
To start, turn off the AC unit and locate the refrigerant lines near the condenser unit. Look for any signs of leaks, such as oily residue or frost on the lines. Leaks can cause the refrigerant to escape, leading to inadequate cooling. If you suspect a leak, it’s best to call our technicians for a thorough inspection and repair.
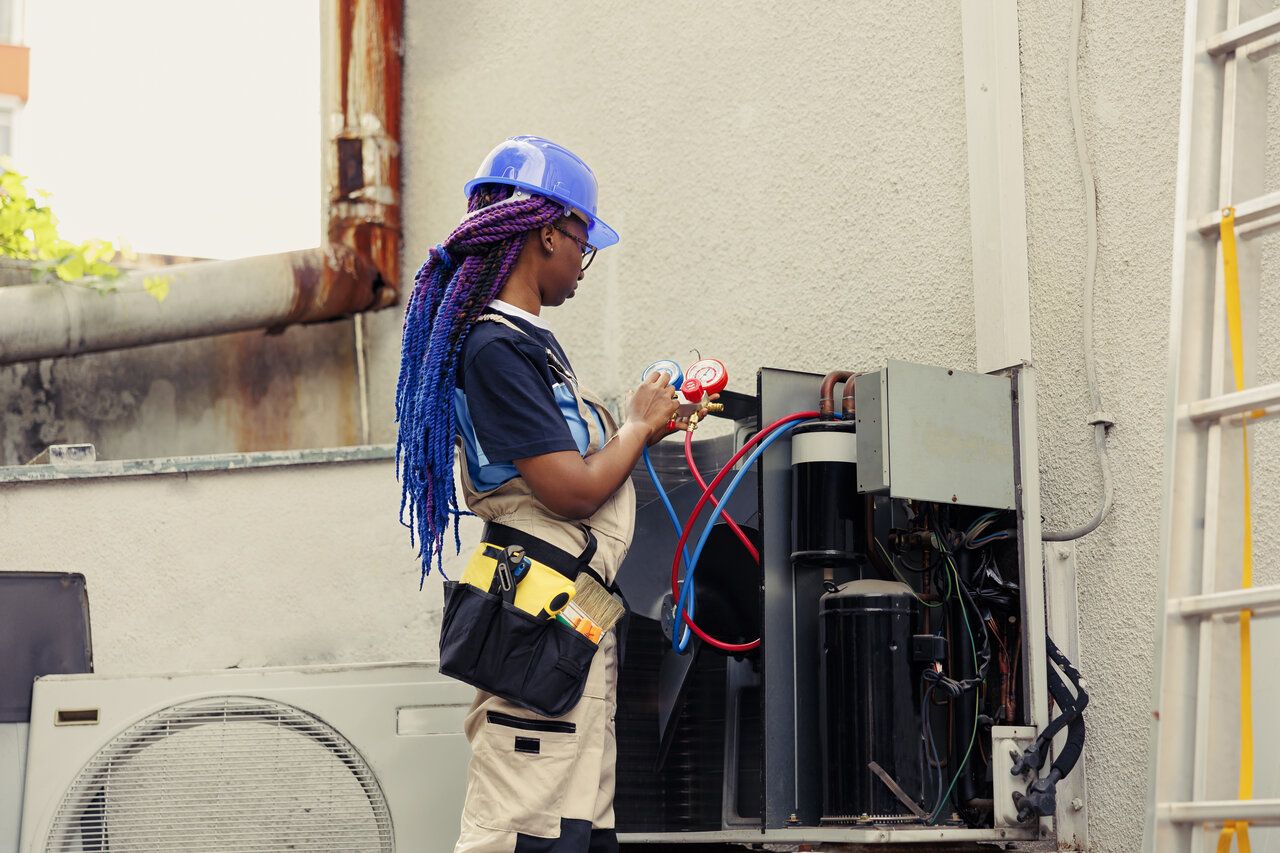
Next, attach refrigerant gauges to the service ports to measure the pressure levels. These gauges will help you determine if the refrigerant level is within the manufacturer’s specified range. If the pressure is too low, it indicates a need for a recharge. However, adding refrigerant should be done by trained professionals to avoid overcharging, which can damage the system.
If you discover that the refrigerant levels are low and there are no visible leaks, it’s still important to have the system checked by our professionals. Low refrigerant levels can strain the compressor, leading to costly repairs. Regularly assessing and maintaining proper refrigerant levels can extend the lifespan of your AC system and ensure optimal performance.
Conclusion
Effectively troubleshooting your AC system can make a significant difference in maintaining a comfortable and efficient home environment. By focusing on key aspects like checking thermostat settings, inspecting air filters, examining electrical connections, and assessing refrigerant levels, you can identify and resolve many common issues yourself. These simple steps not only improve the performance of your AC system but also prolong its lifespan.
For expert AC maintenance and AC repair services in Sandy, UT, contact us at One Stop Heating and Air Conditioning. Our team of skilled technicians is dedicated to ensuring your system operates at its best. Schedule a service appointment today and keep your home cool and comfortable all season long.

